How do I set up the Wolfram Engine on Windows?
Read this article in: Deutsch, Español, Français, 日本語, 한국어, Português, Русский, 中文
To run the Wolfram Engine on your Windows machine, you need to get a free license, install the program, then activate the product.
You need a Wolfram ID to activate the Wolfram Engine. If you do not have one already, you must create one.
If you are connecting to the internet via a proxy server, wolframscript needs suitable proxy information in order to be able to activate the Wolfram Engine. wolframscript uses the operating system’s proxy settings, which can be set by executing (from the Windows Command Prompt):
netsh winhttp set proxy (proxyserver):(portnumber)
For example:
netsh winhttp set proxy 10.0.0.6:8080
Setup Instructions
- Quit any Wolfram products that are running on your machine.
- In a web browser, visit https://www.wolfram.com/engine.
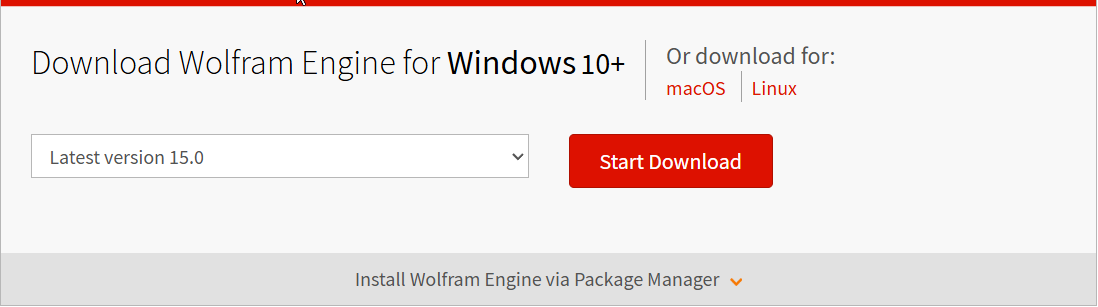
- From the drop-down menu, select the version that you want to download and click the red Start Download button. The Wolfram Engine installer will be downloaded to the default downloads folder for your browser, and the Thank You page appears.

- Click the red Get Your License button.
- If prompted, sign in with your Wolfram ID and password. The Free Developer License Agreement page appears.

- Read the Free Wolfram Engine for Developers Terms and Conditions of Use and select the checkbox to agree.
- Click the Get License button. The license for the Wolfram Engine is created and associated with your Wolfram ID.

- In your file browser, navigate to the folder to which you downloaded the zip file. Extract the downloaded zip file into a directory.
- Open the extracted folder and run setup.exe.
- The Wolfram Engine Setup program starts and guides you through the installation.
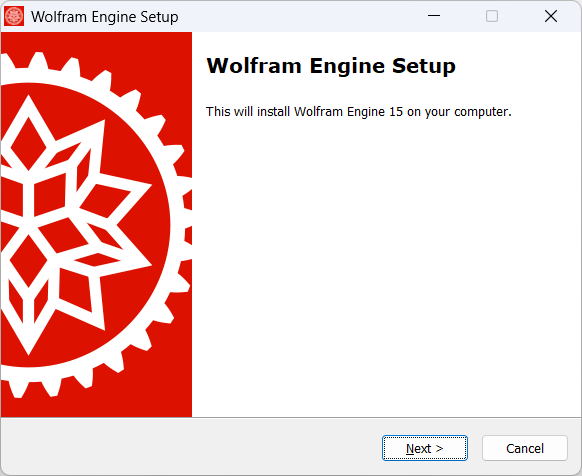
- Click Next. The Destination Location screen appears.
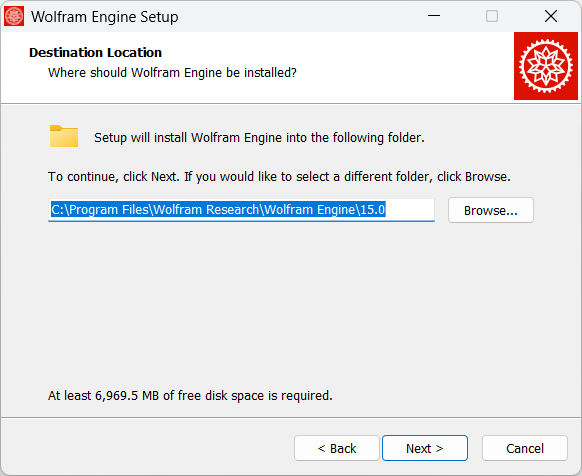
- Click Next again to install the Wolfram Engine to the default directory.
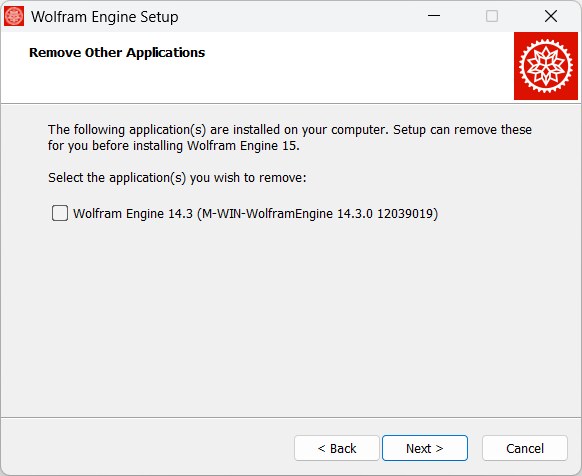
- The Remove Other Applications window only appears if there are older product versions installed on the computer. Select any old versions of the Wolfram Engine that you want to uninstall, and then click Next.
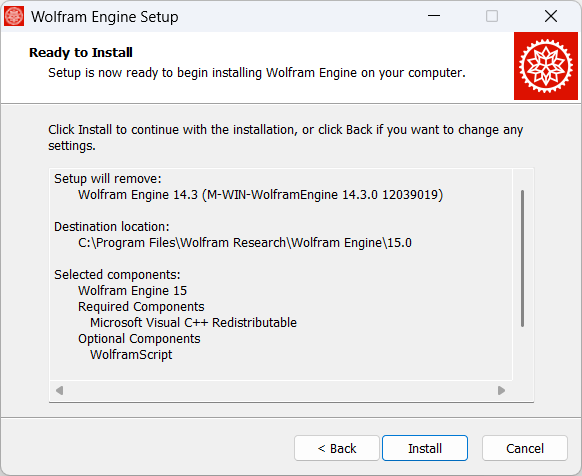
- The configuration of the Wolfram Engine installation is complete. Click Install to begin installing.
 /li>
/li>
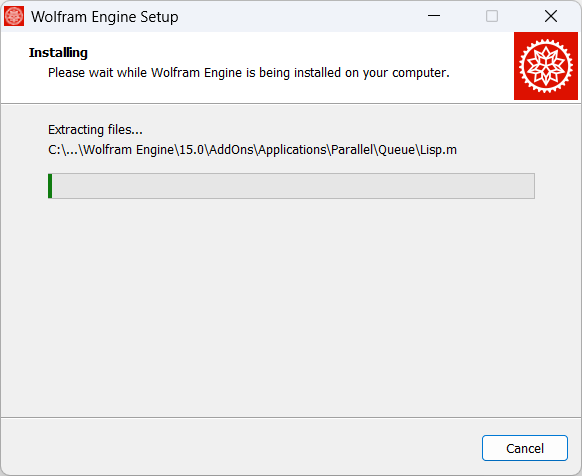
- Wait for the installation to complete. The confirmation dialog appears.
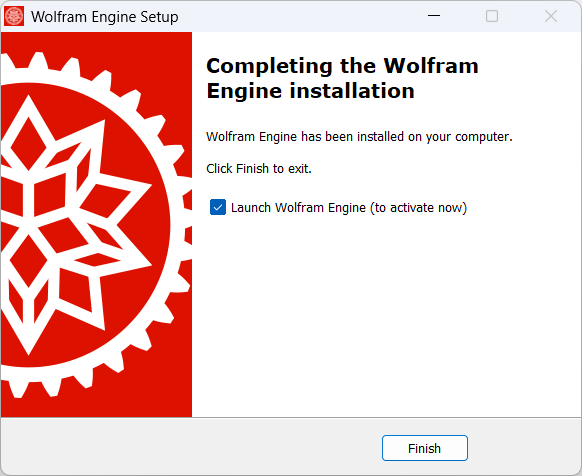
- To close the installer and launch the Wolfram Engine, click Finish. A Windows Command Prompt window appears and runs wolframscript. If wolframscript is not able to find the correct Wolfram Engine kernel, run wolframscript with the appropriate command-line options.
- Enter your Wolfram ID and the associated password to complete activation.
The Wolfram Engine requires one-time activation on this computer.
Visit https://wolfram.com/engine/free-license to get your free license.
Wolfram ID: user@email.com
Password:
The Wolfram Engine is now activated. You can use it through wolframscript or through Language Client Libraries.
Contact Support
Whether you have a question about billing, activation or something more technical, we are ready to help you.
1-800-WOLFRAM (+1-217-398-0700 for international callers)
Customer Support
Monday–Friday
8am–5pm US Central Time
- Product registration or activation
- Pre-sales information and ordering
- Help with installation and first launch
Advanced Technical Support (for eligible customers)
Monday–Thursday
8am–5pm US Central Time
Friday
8:30–10am & 11am–5pm US Central Time
- Priority technical support
- Product assistance from Wolfram experts
- Help with Wolfram Language programming
- Advanced installation support