How do I install Wolfram Web Engine on macOS?
Wolfram Web Engine (WWE) requires the installation of Java JDK 25, Apache Tomcat 10, Wolfram Engine and MathLM. This guide walks you through the following steps to get WWE installed and running on macOS:
- Installing Java JDK 25
- Installing and Testing Apache Tomcat 10
- Installing Wolfram Engine and Activating with MathLM
- Installing and Testing WWE
Installing Java JDK 25
- Download and run the Java JDK 25 installer. We recommend downloading either the ARM64 DMG Installer or the x64 DMG Installer under the macOS section depending on your computer’s architecture.
Installing and Testing Apache Tomcat 10
Installation
- Download Apache Tomcat 10. We recommend downloading the ZIP file from the Core section under Binary Distributions.
- Open a terminal and change to the directory where you downloaded the Tomcat ZIP file. For example:
cd /Users/<UserName>/Downloads - Unzip the Tomcat installation file into the directory of your choice. For example, if you want to unzip the files into the /usr/local directory, run:
sudo unzip apache-tomcat-<version>.zip -d /usr/local - Change to the Tomcat installation directory. For example, if you unzipped the Tomcat installation files into the /usr/local directory, run:
cd /usr/local/apache-tomcat-<version> - To make the Tomcat scripts executable, run:
sudo chmod -R u+x bin
Creating a Tomcat User Account (Recommended)
It is recommended that you set up a dedicated “tomcat” user account to run the Tomcat server.
- Add a user account called “tomcat”.
- Change the ownership of the Tomcat installation directory to the “tomcat” user account. For example, if you installed Tomcat in /usr/local, run:
sudo chown -R tomcat /usr/local/apache-tomcat-<version>
Testing Tomcat
- Run the following command from the Tomcat installation directory to start the Tomcat server as the “tomcat” user account:
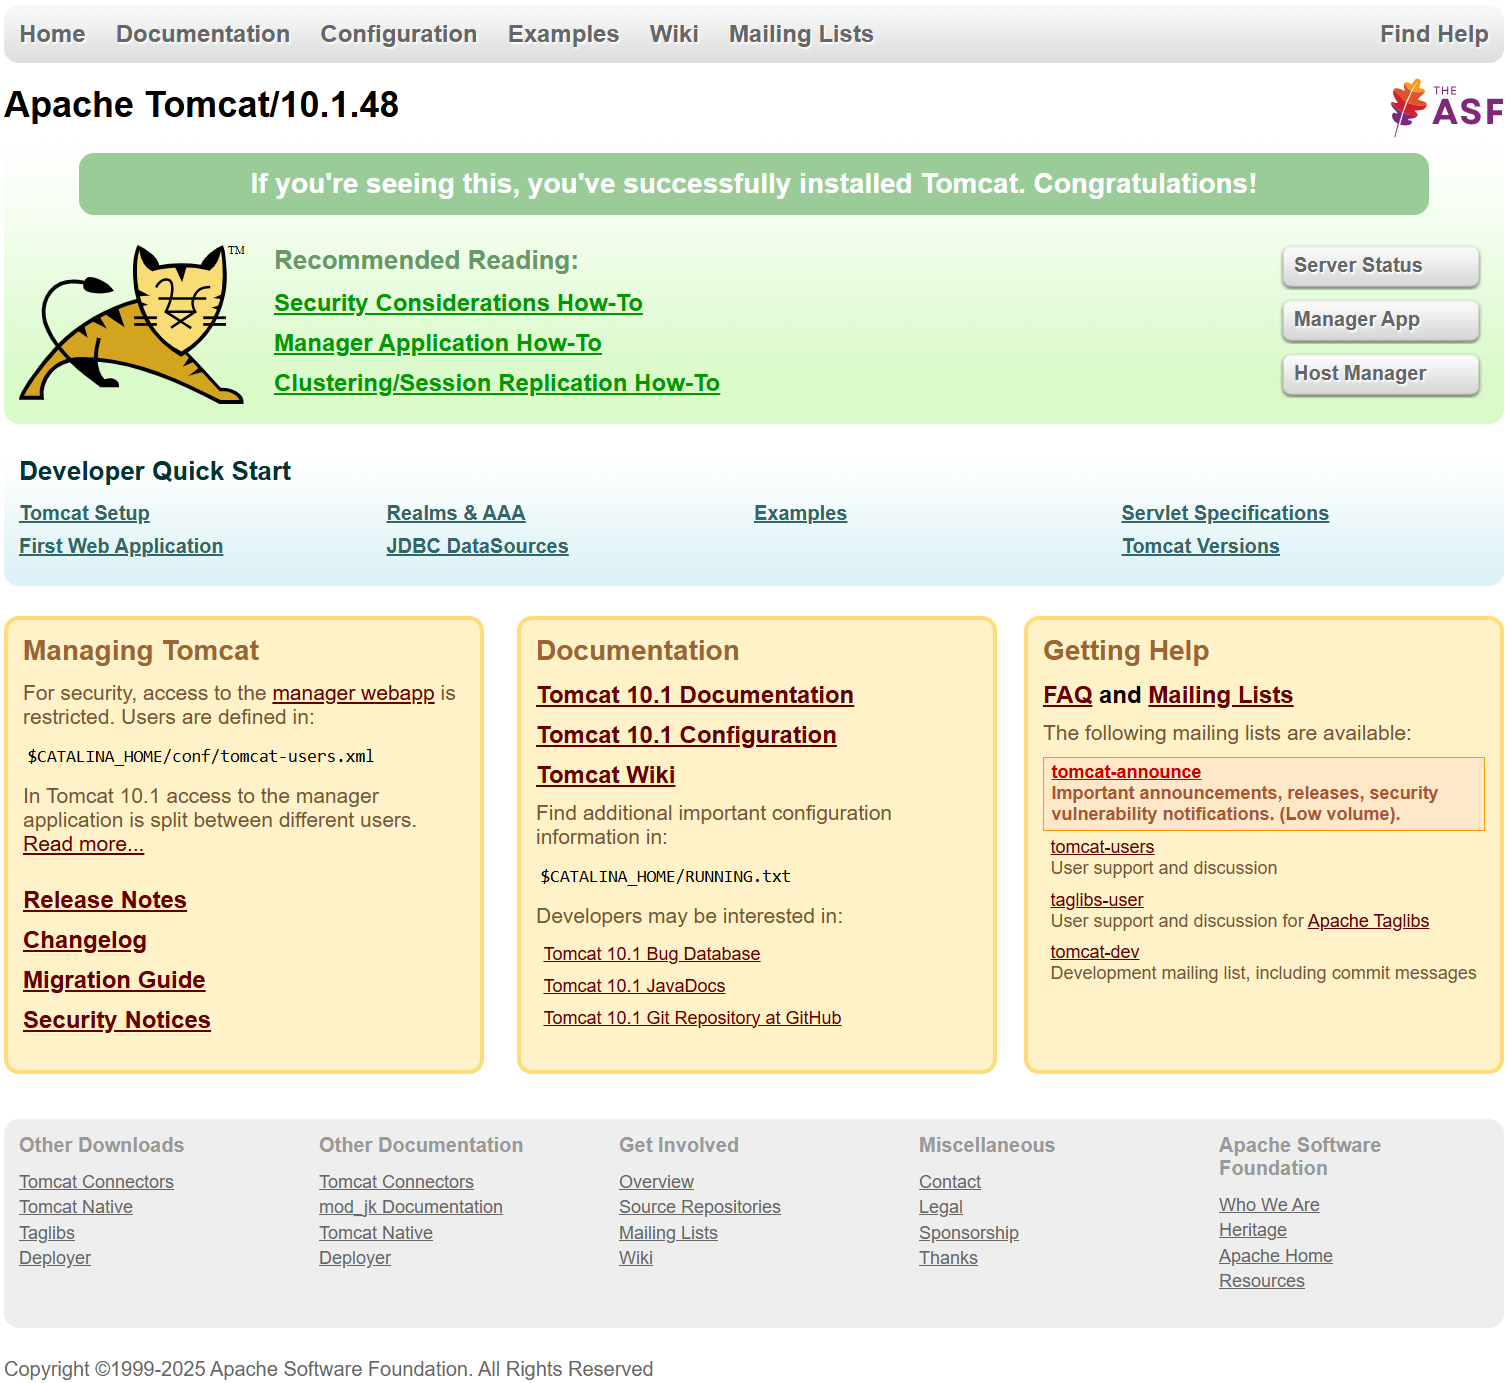
sudo -u tomcat ./bin/startup.sh - Open a web browser and enter “localhost:8080”. The Tomcat server has been installed successfully if the Tomcat landing page appears:
- Run the following command from the Tomcat installation directory to stop the Tomcat server as the “tomcat” user account:
sudo -u tomcat ./bin/shutdown.sh
Installing Wolfram Engine and Activating with MathLM
You need to install Wolfram Engine and MathLM, activate Wolfram Engine using MathLM and copy the Wolfram Engine licensing information into a system-accessible location on your machine.
Installing Wolfram Engine and MathLM
- Follow steps 1–3 and 8–15 in the instructions for installing Wolfram Engine on macOS. You will be using a MathLM server to activate Wolfram Engine instead.
- Follow the instructions for installing MathLM on macOS and Linux.
Activating Wolfram Engine with MathLM
- Open a terminal and run the following command to change to the Wolfram Engine licensing directory:
cd /Users/<username>/Library/WolframEngine/Licensing - Run the following command to create a file named “mathpass” in this directory.
touch mathpass - Open the “mathpass” file with your preferred text editor.
- Enter an exclamation mark followed by the hostname or IP address of your MathLM server. If you installed MathLM on the same machine you are running WWE on, use “localhost” as the hostname.
!localhost - Save your changes to the “mathpass” file.
- Run the following command to copy the “mathpass” file you created to the system-accessible Wolfram Engine licensing directory:
sudo cp /Users/<username>/Library/WolframEngine/Licensing/mathpass /Library/WolframEngine/LicensingNote: You may need to create this directory manually if it does not already exist on your machine.
Wolfram Engine is now activated.
Installing and Testing WWE
Installing WWE
- Download the WWE installation file from your Wolfram Account.
- Make sure the Tomcat server is running.
- Run the following command from the location of the WWE installation file to copy it into the webapps subdirectory of the Tomcat installation directory:
sudo cp webengine.war /usr/local/apache-tomcat-<version>/webapps/The WWE installation file will be automatically unpacked, and a webengine subdirectory will be created in the webapps directory.
- To change the ownership of the webengine directory to the “tomcat” user, run:
sudo chown -R tomcat /usr/local/apache-tomcat-<version>/webapps/webengine - Open /usr/local/apache-tomcat-<version>/webapps/webengine/WEB-INF/WWEConfiguration.xml with your preferred text editor.
- Under the KernelPool section, replace the KernelExecutable value with “/Applications/Wolfram Engine.app/Contents/MacOS/WolframKernel”.
<KernelExecutable>/Applications/Wolfram Engine.app/Contents/MacOS/WolframKernel</KernelExecutable> - Restart the Tomcat server.
Testing WWE
- Open a web browser and enter “localhost:8080/webengine”. The WWE landing page appears.
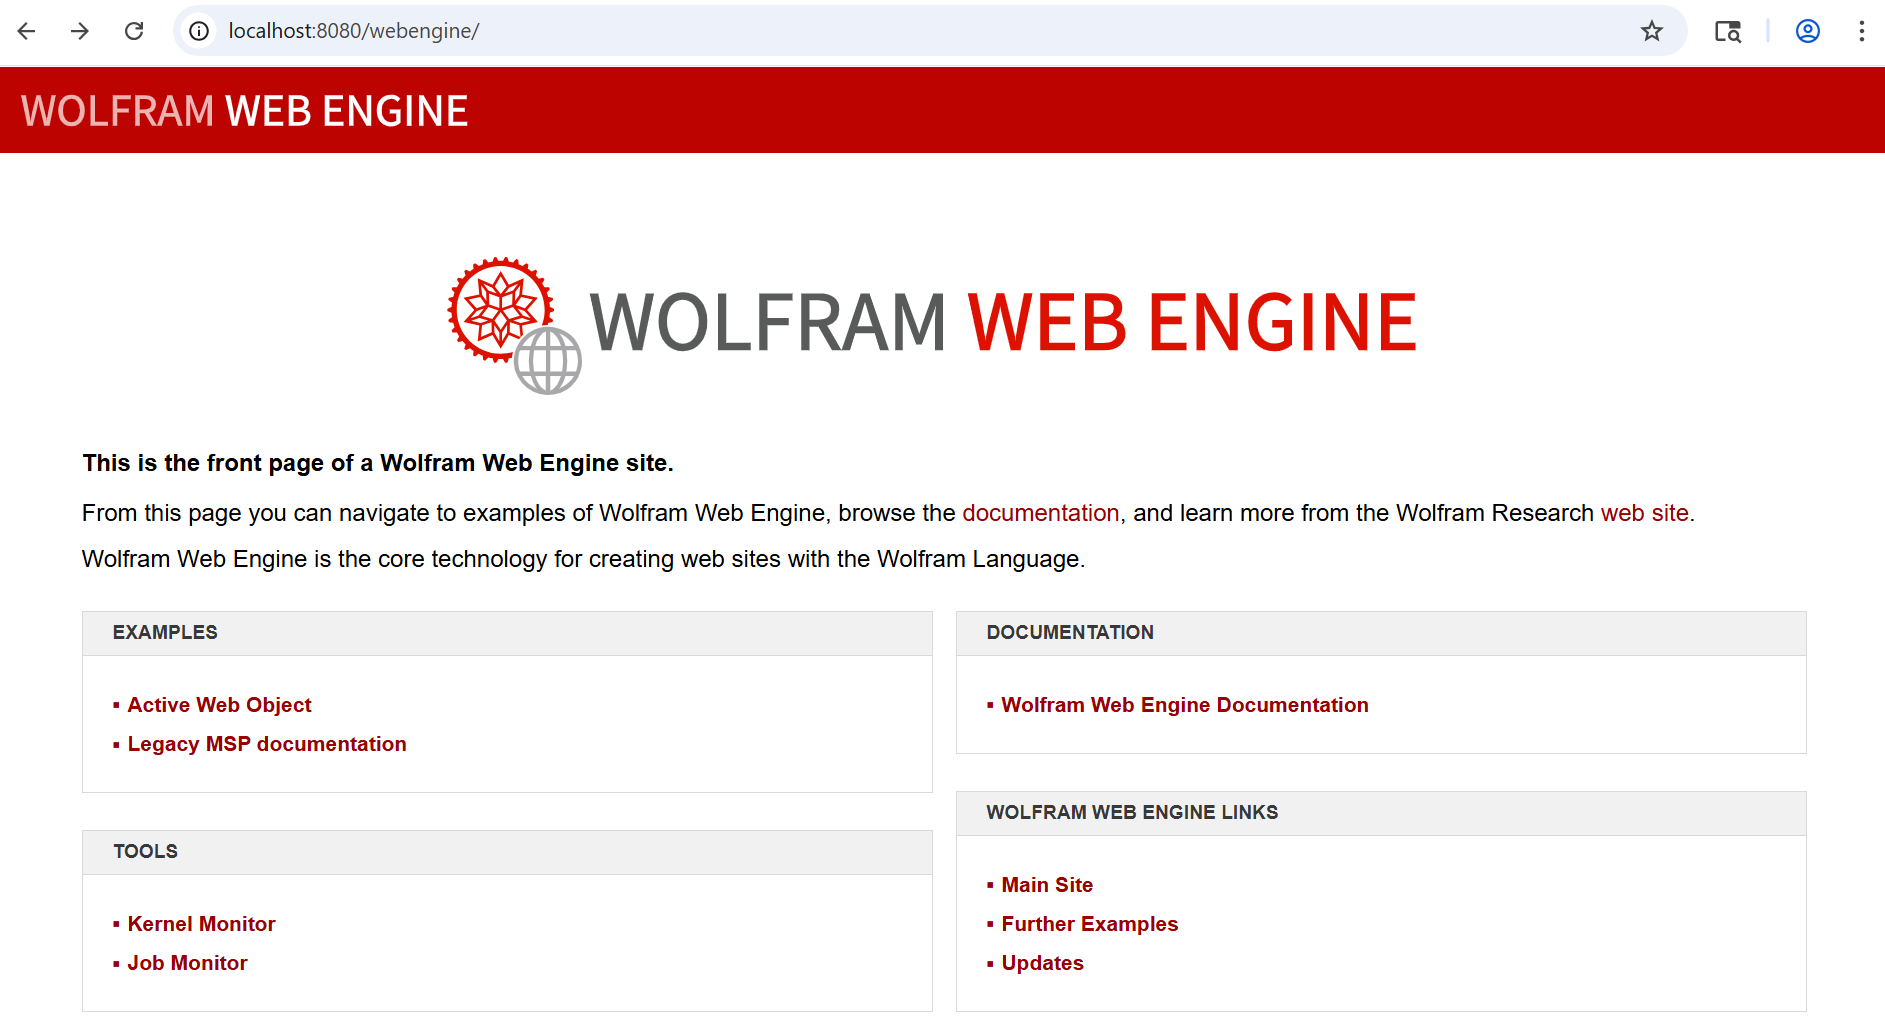
- Under Examples, click Active Web Object.
The WWE installation was successful if you see a page that says “Welcome to Wolfram Web Engine”.
If you receive an error, please contact server-support@wolfram.com.
Contact Support
Whether you have a question about billing, activation or something more technical, we are ready to help you.
1-800-WOLFRAM (+1-217-398-0700 for international callers)
Customer Support
Monday–Friday
8am–5pm US Central Time
- Product registration or activation
- Pre-sales information and ordering
- Help with installation and first launch
Advanced Technical Support (for eligible customers)
Monday–Thursday
8am–5pm US Central Time
Friday
8:30–10am & 11am–5pm US Central Time
- Priority technical support
- Product assistance from Wolfram experts
- Help with Wolfram Language programming
- Advanced installation support